|
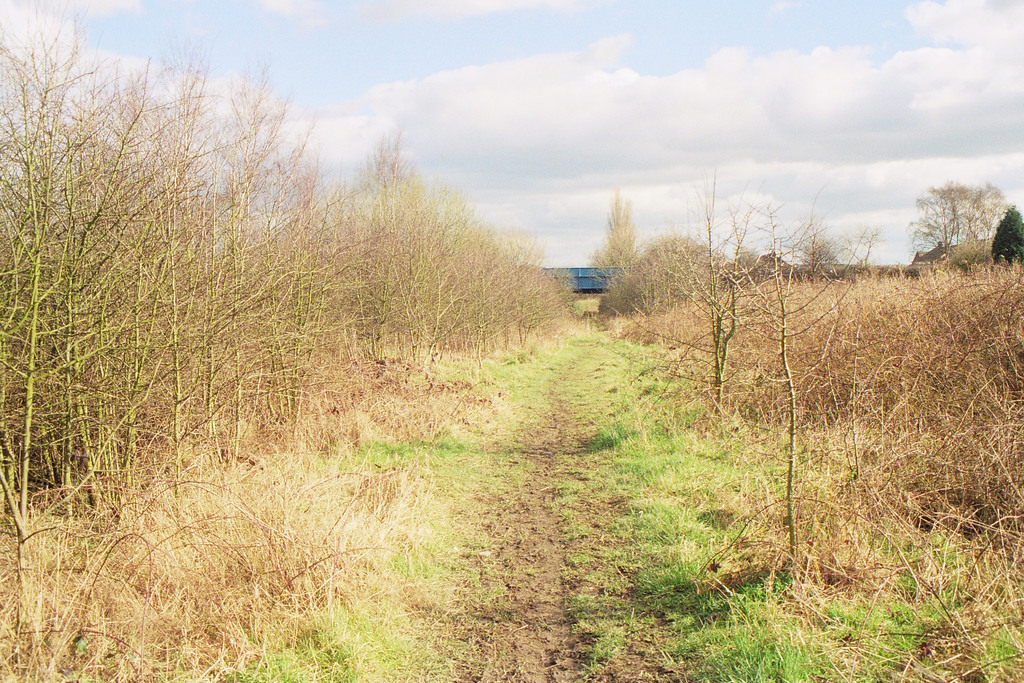
Continuing towards Ripley, we take one last look back at the overbridge and the junction for the Bailey Brook line. (20/32)
|
|
Continuing towards Ripley, we take one last look back at the overbridge and the junction for the Bailey Brook line. (20/32)